Learn
Your Sony ZV-E10 Is Not the Problem
A genuinely useful starter setup for making vlogs on a budget with the original Sony ZV-E10: less gear panic, better sound, settings that make sense, and enough confidence to press record outside your bedroom.
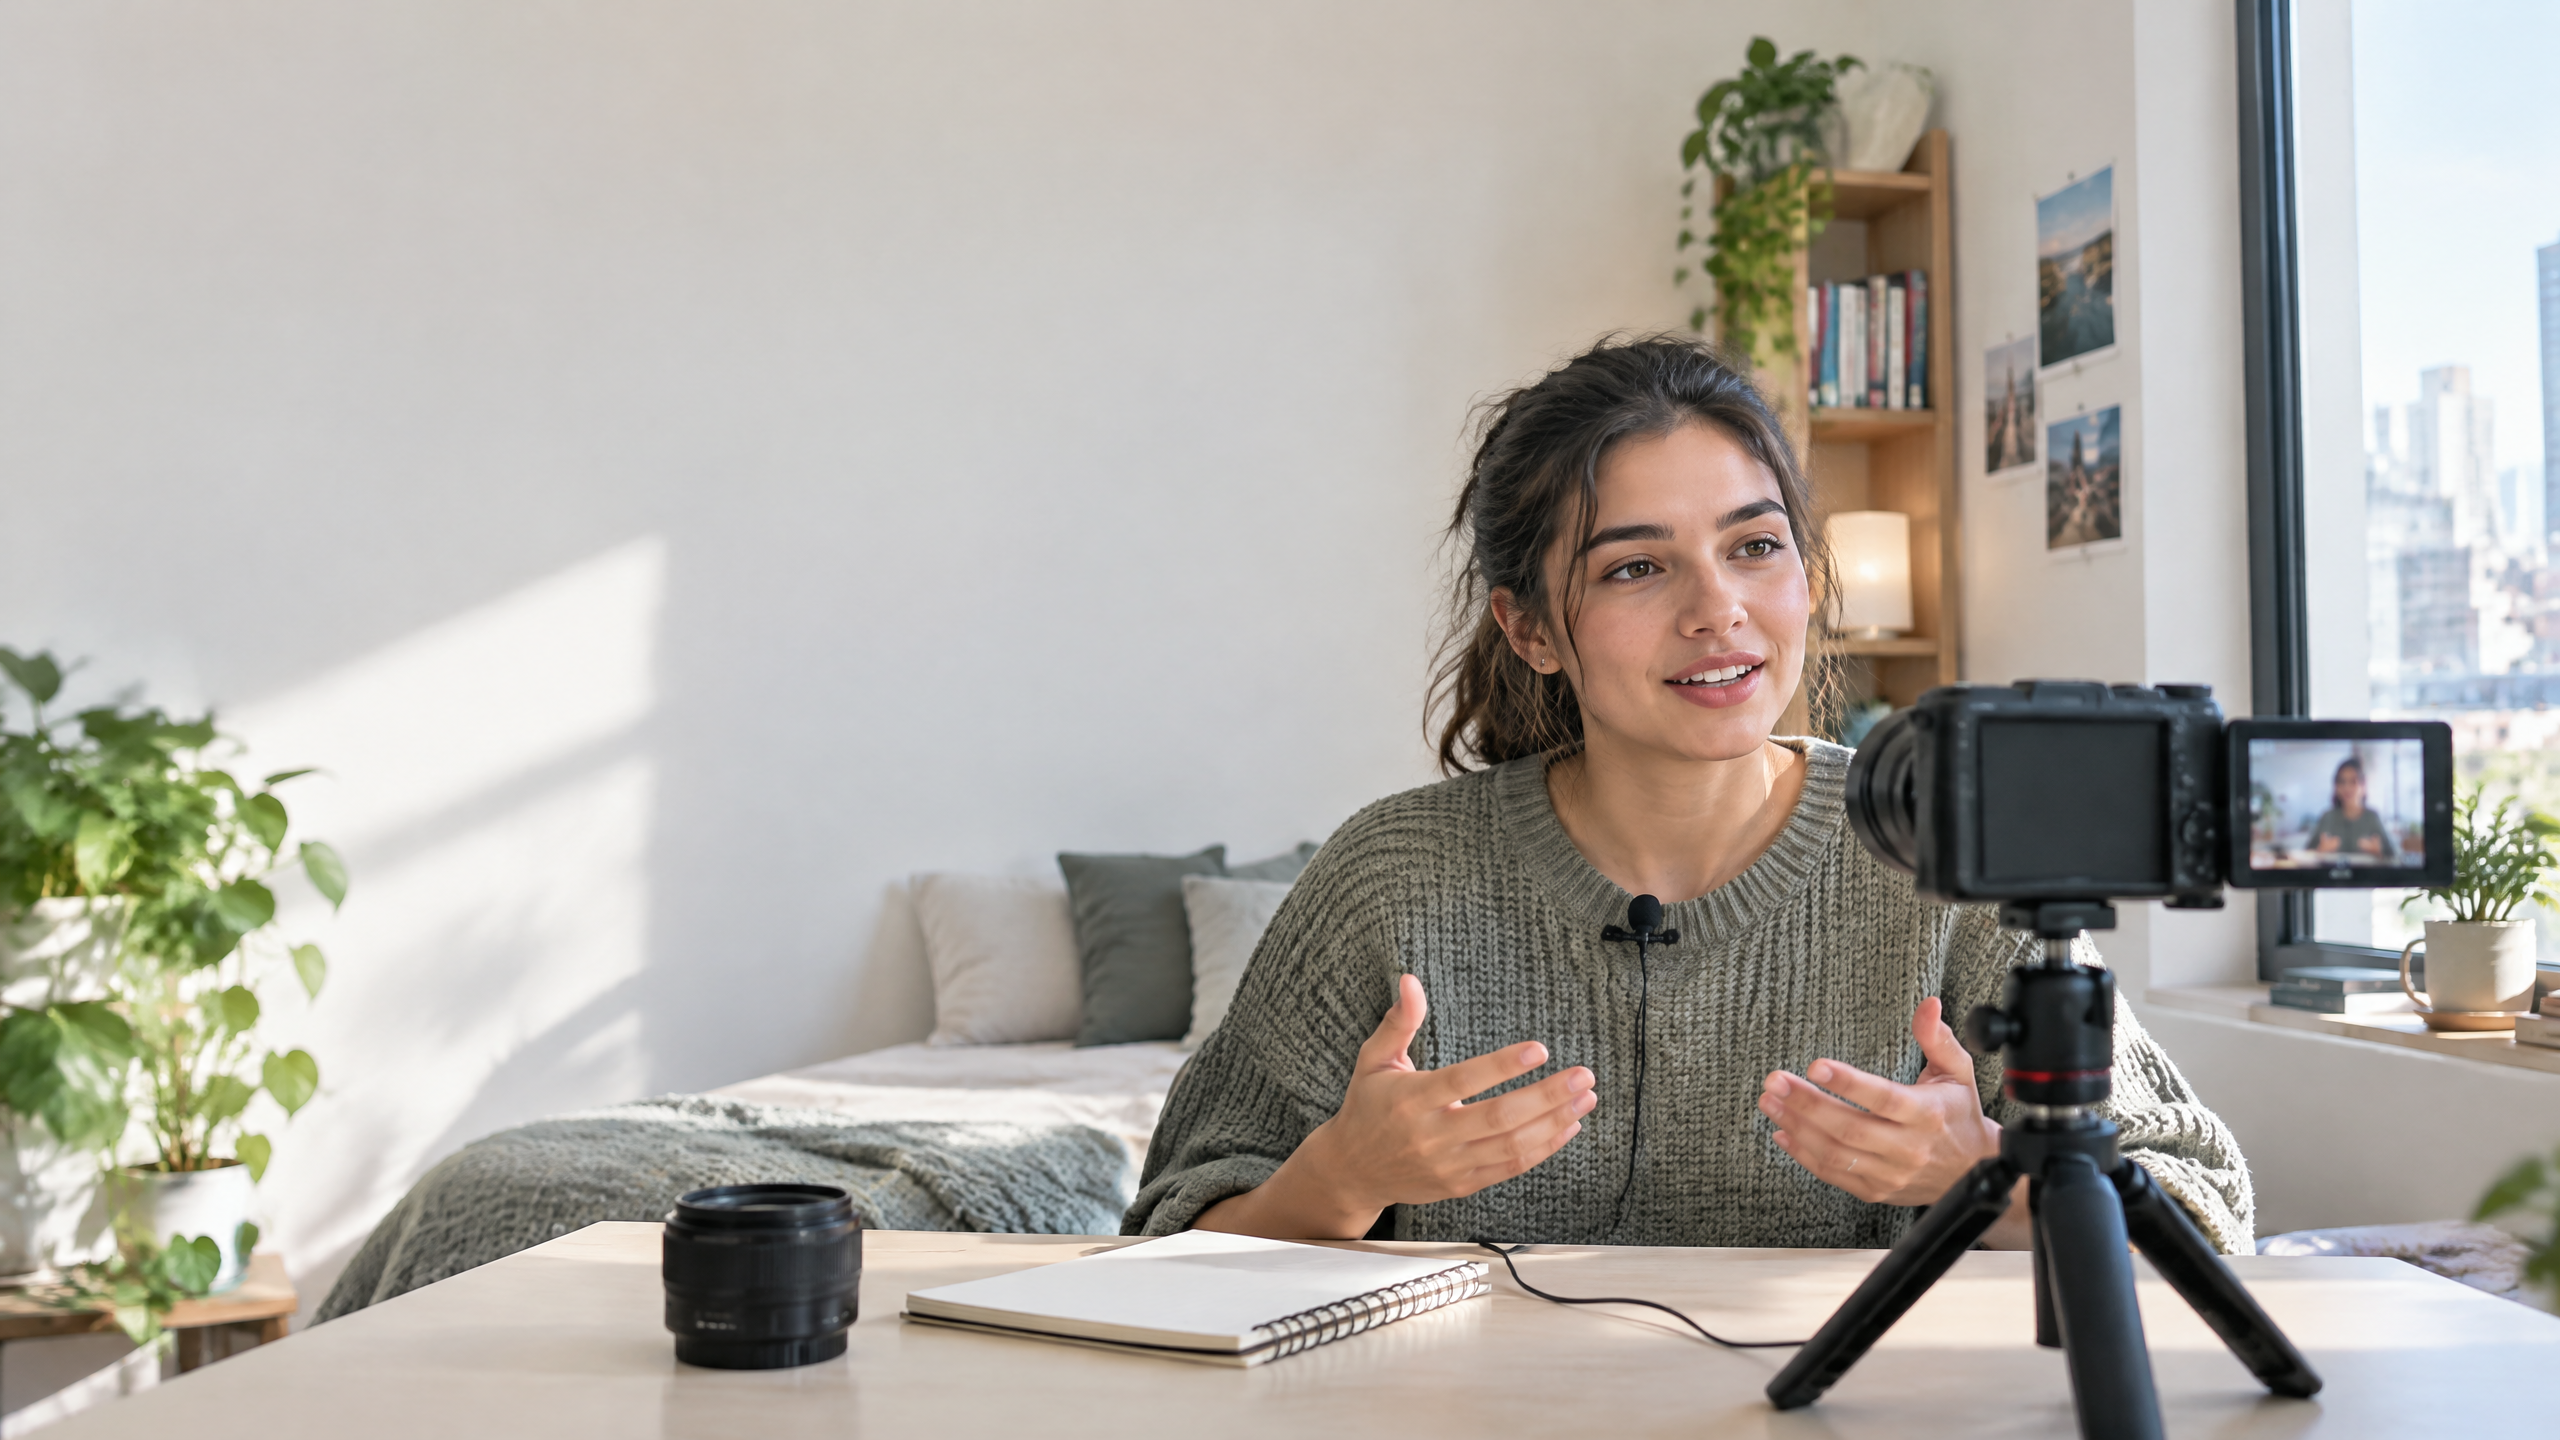
Okay, first: the Sony ZV-E10 is not holding you back. Your footage might be. Different problem. The little black camera is a very capable APS-C vlog camera with a flip screen, proper microphone and headphone ports, face/eye autofocus, and 4K recording. That is already more than enough to make a video people actually finish. You do not need the creator cart that looks like a small electronics store exploded into a tote bag. You need a simple setup that lets you make the same kind of video twice, then ten times, then better on the eleventh because you noticed something specific instead of buying another cable at 1 a.m.
Start with the kit lens if that is what you have. Seriously. A budget is not a moral failure and a kit lens is not a public embarrassment. Put the camera on a small tripod, flip the screen toward you, and stand near a window. That is your first studio. Get your face about an arm’s length from the lens, keep the window slightly to one side instead of directly behind you, and look at the screen for ten seconds before filming. If your background looks like a laundry incident, move one metre. Vlogging is 70 percent noticing the frame, 20 percent sound, and perhaps 10 percent having the audacity to speak when people can hear you.
For a low-stress talking shot, pick movie mode, use 4K at the frame rate that matches where you live and what you want to edit—24, 25, or 30 frames per second are all normal choices. The important part is being consistent within a project. A very safe starting point is 25p with a shutter around 1/50, or 30p with a shutter around 1/60. That gives movement a natural look without making you become a tiny cinematographer against your will. Set a manual white balance when the light is not changing, or use auto white balance in mixed light and check your skin once. Film a 15-second test, watch it back, and fix the thing you can actually see.
For focus, use continuous AF, turn Face/Eye Priority on for humans, and choose a wide or tracking area that keeps you in the game. The ZV-E10 is excellent at finding an eye when there is decent light and you are not hiding behind sunglasses, hair, or a tragic backlit window. But do not treat autofocus like it signed a lease on your brain. Look at the focus box before your main take. If you are doing a desk video, put a bookmark, a mug, or literally a piece of tape where you will stand, then return there. The most professional thing a beginner can do is not discover later that the camera fell in love with a houseplant behind them.
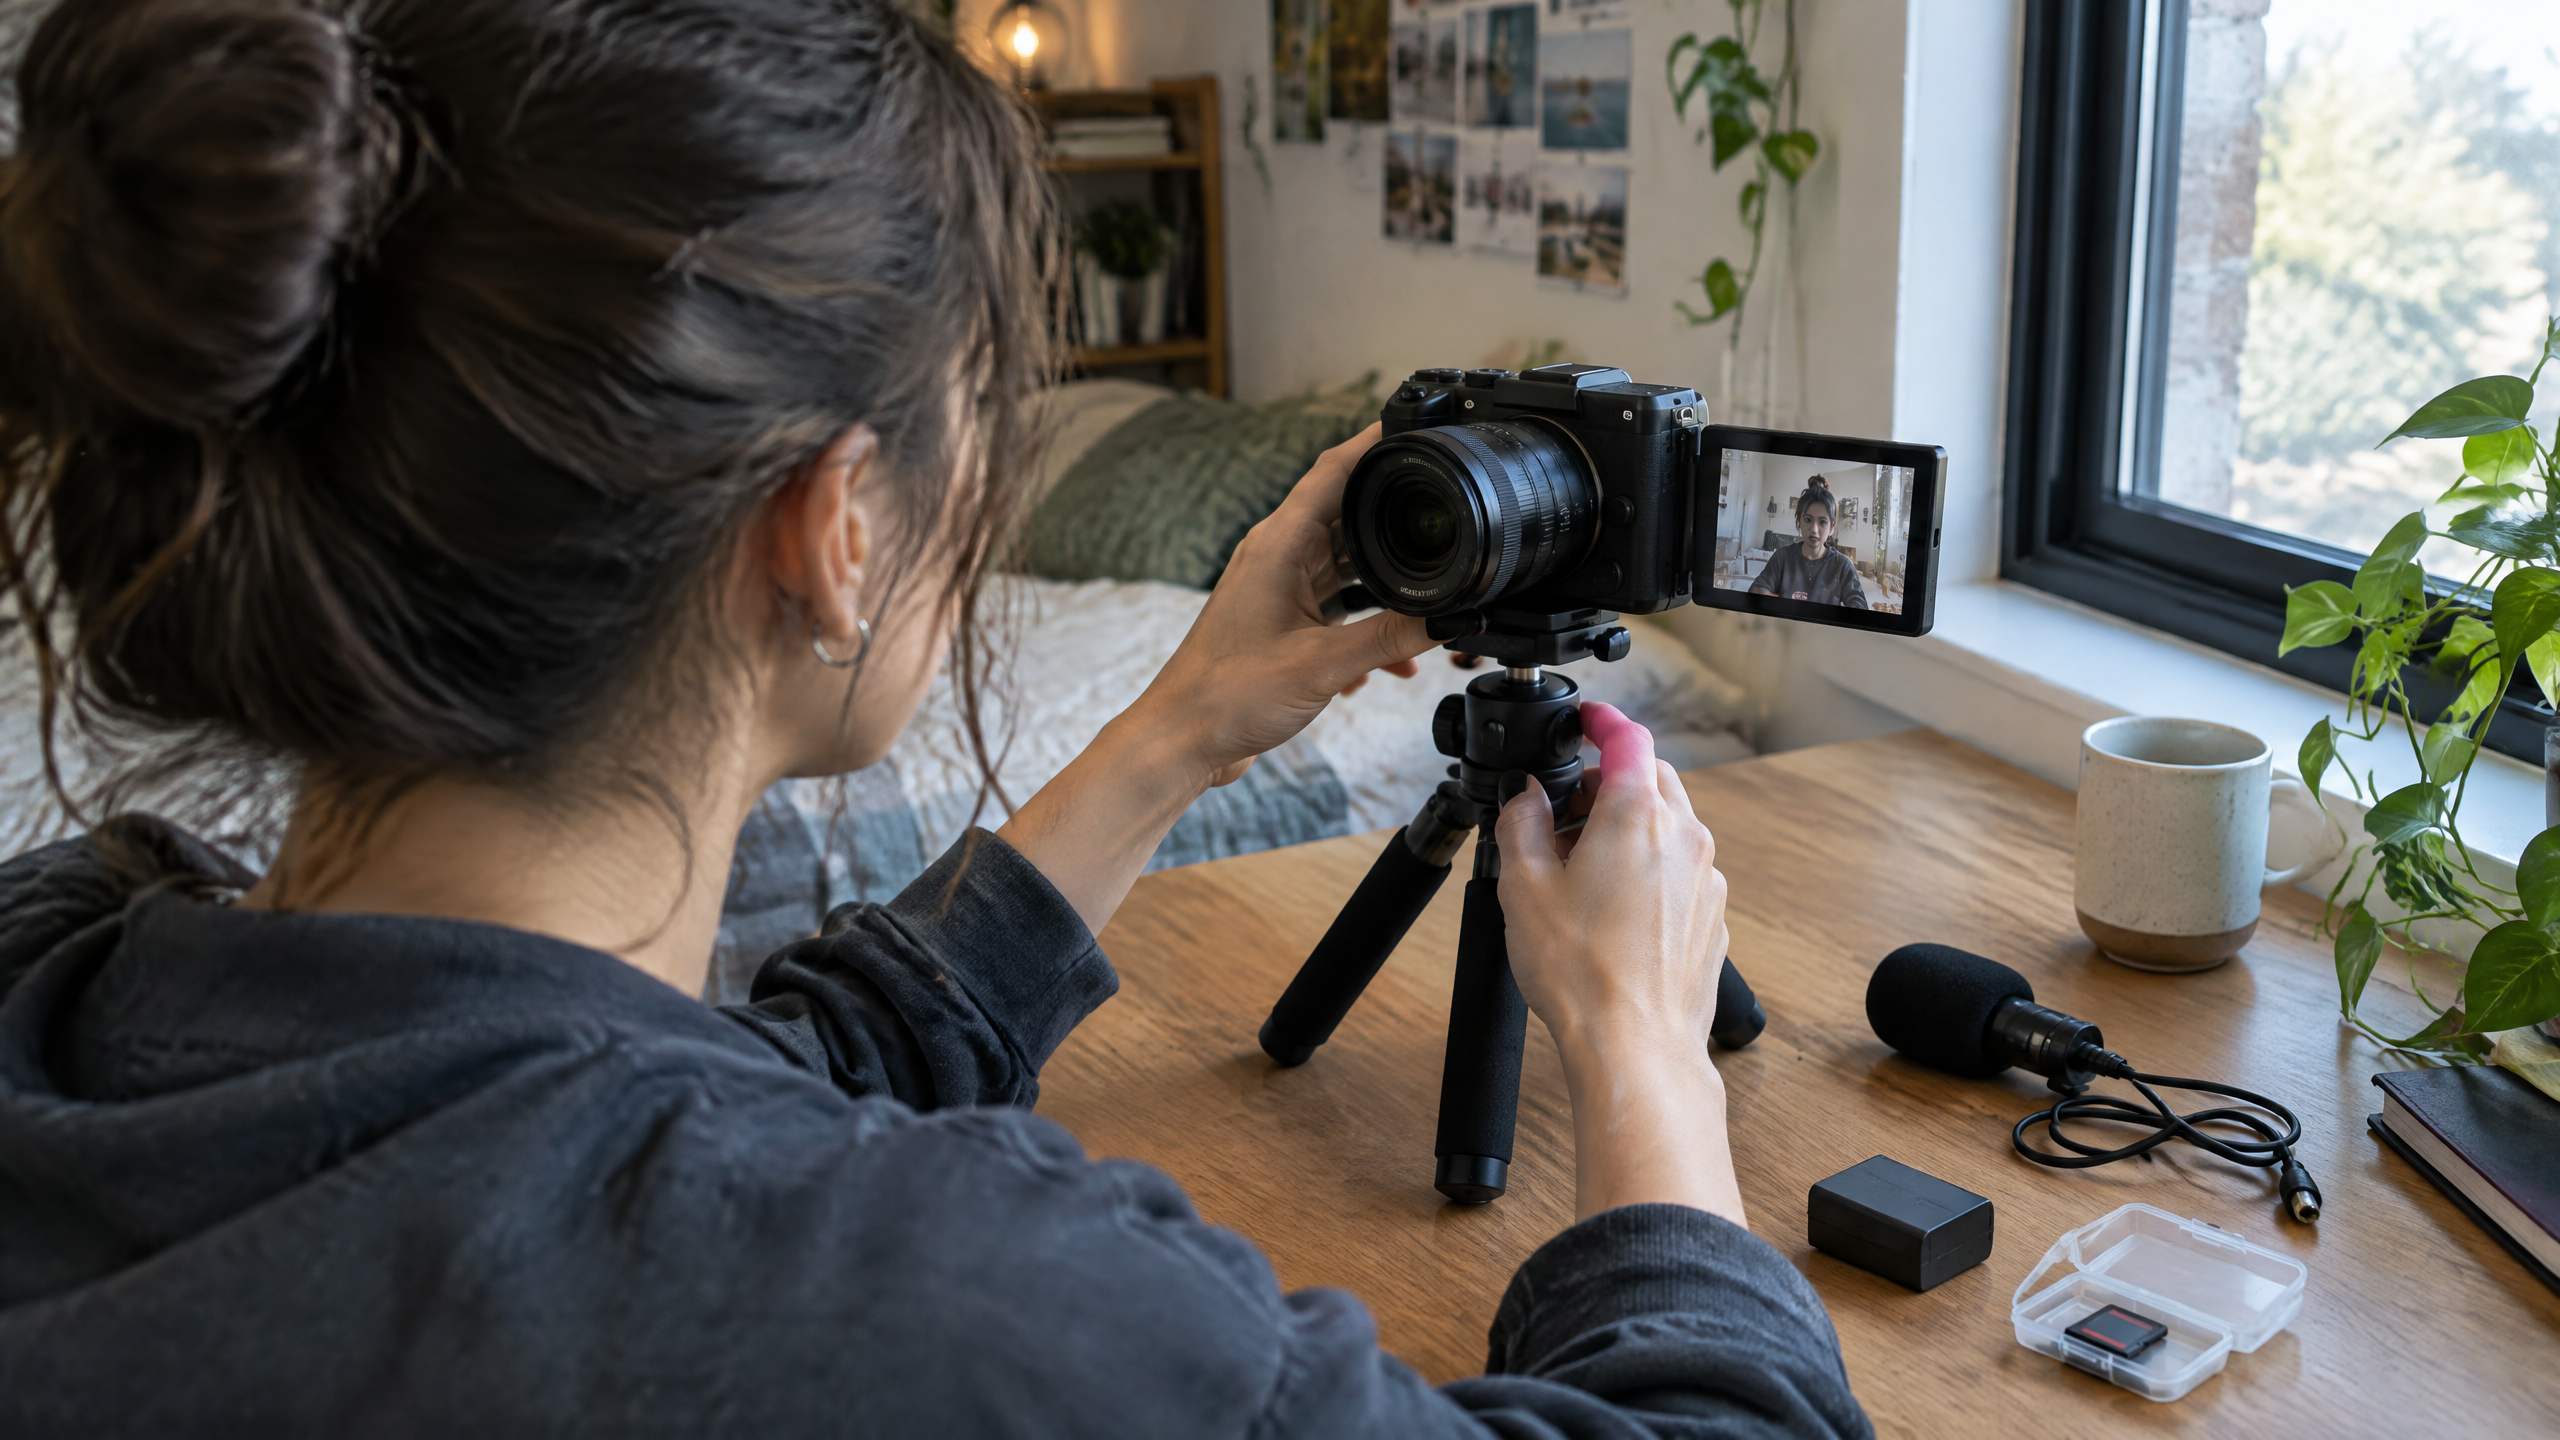
Now the setting people use like a party trick: Background Defocus. It toggles between a softer and clearer background by changing how the camera handles aperture. It is cute. Use it when your room needs mercy, then move on. Do not make every video look like you are delivering a breakup speech in a perfume ad. The more useful ZV-E10 party trick is Product Showcase Set. Switch it on only when you are holding an object close to the lens—your coffee grinder, thrift find, notebook, whatever—and the camera will prioritise the nearer object. Switch it off before you go back to talking, because Face/Eye Priority is locked off while Product Showcase is on. The camera is helping, but it cannot read the room for you.
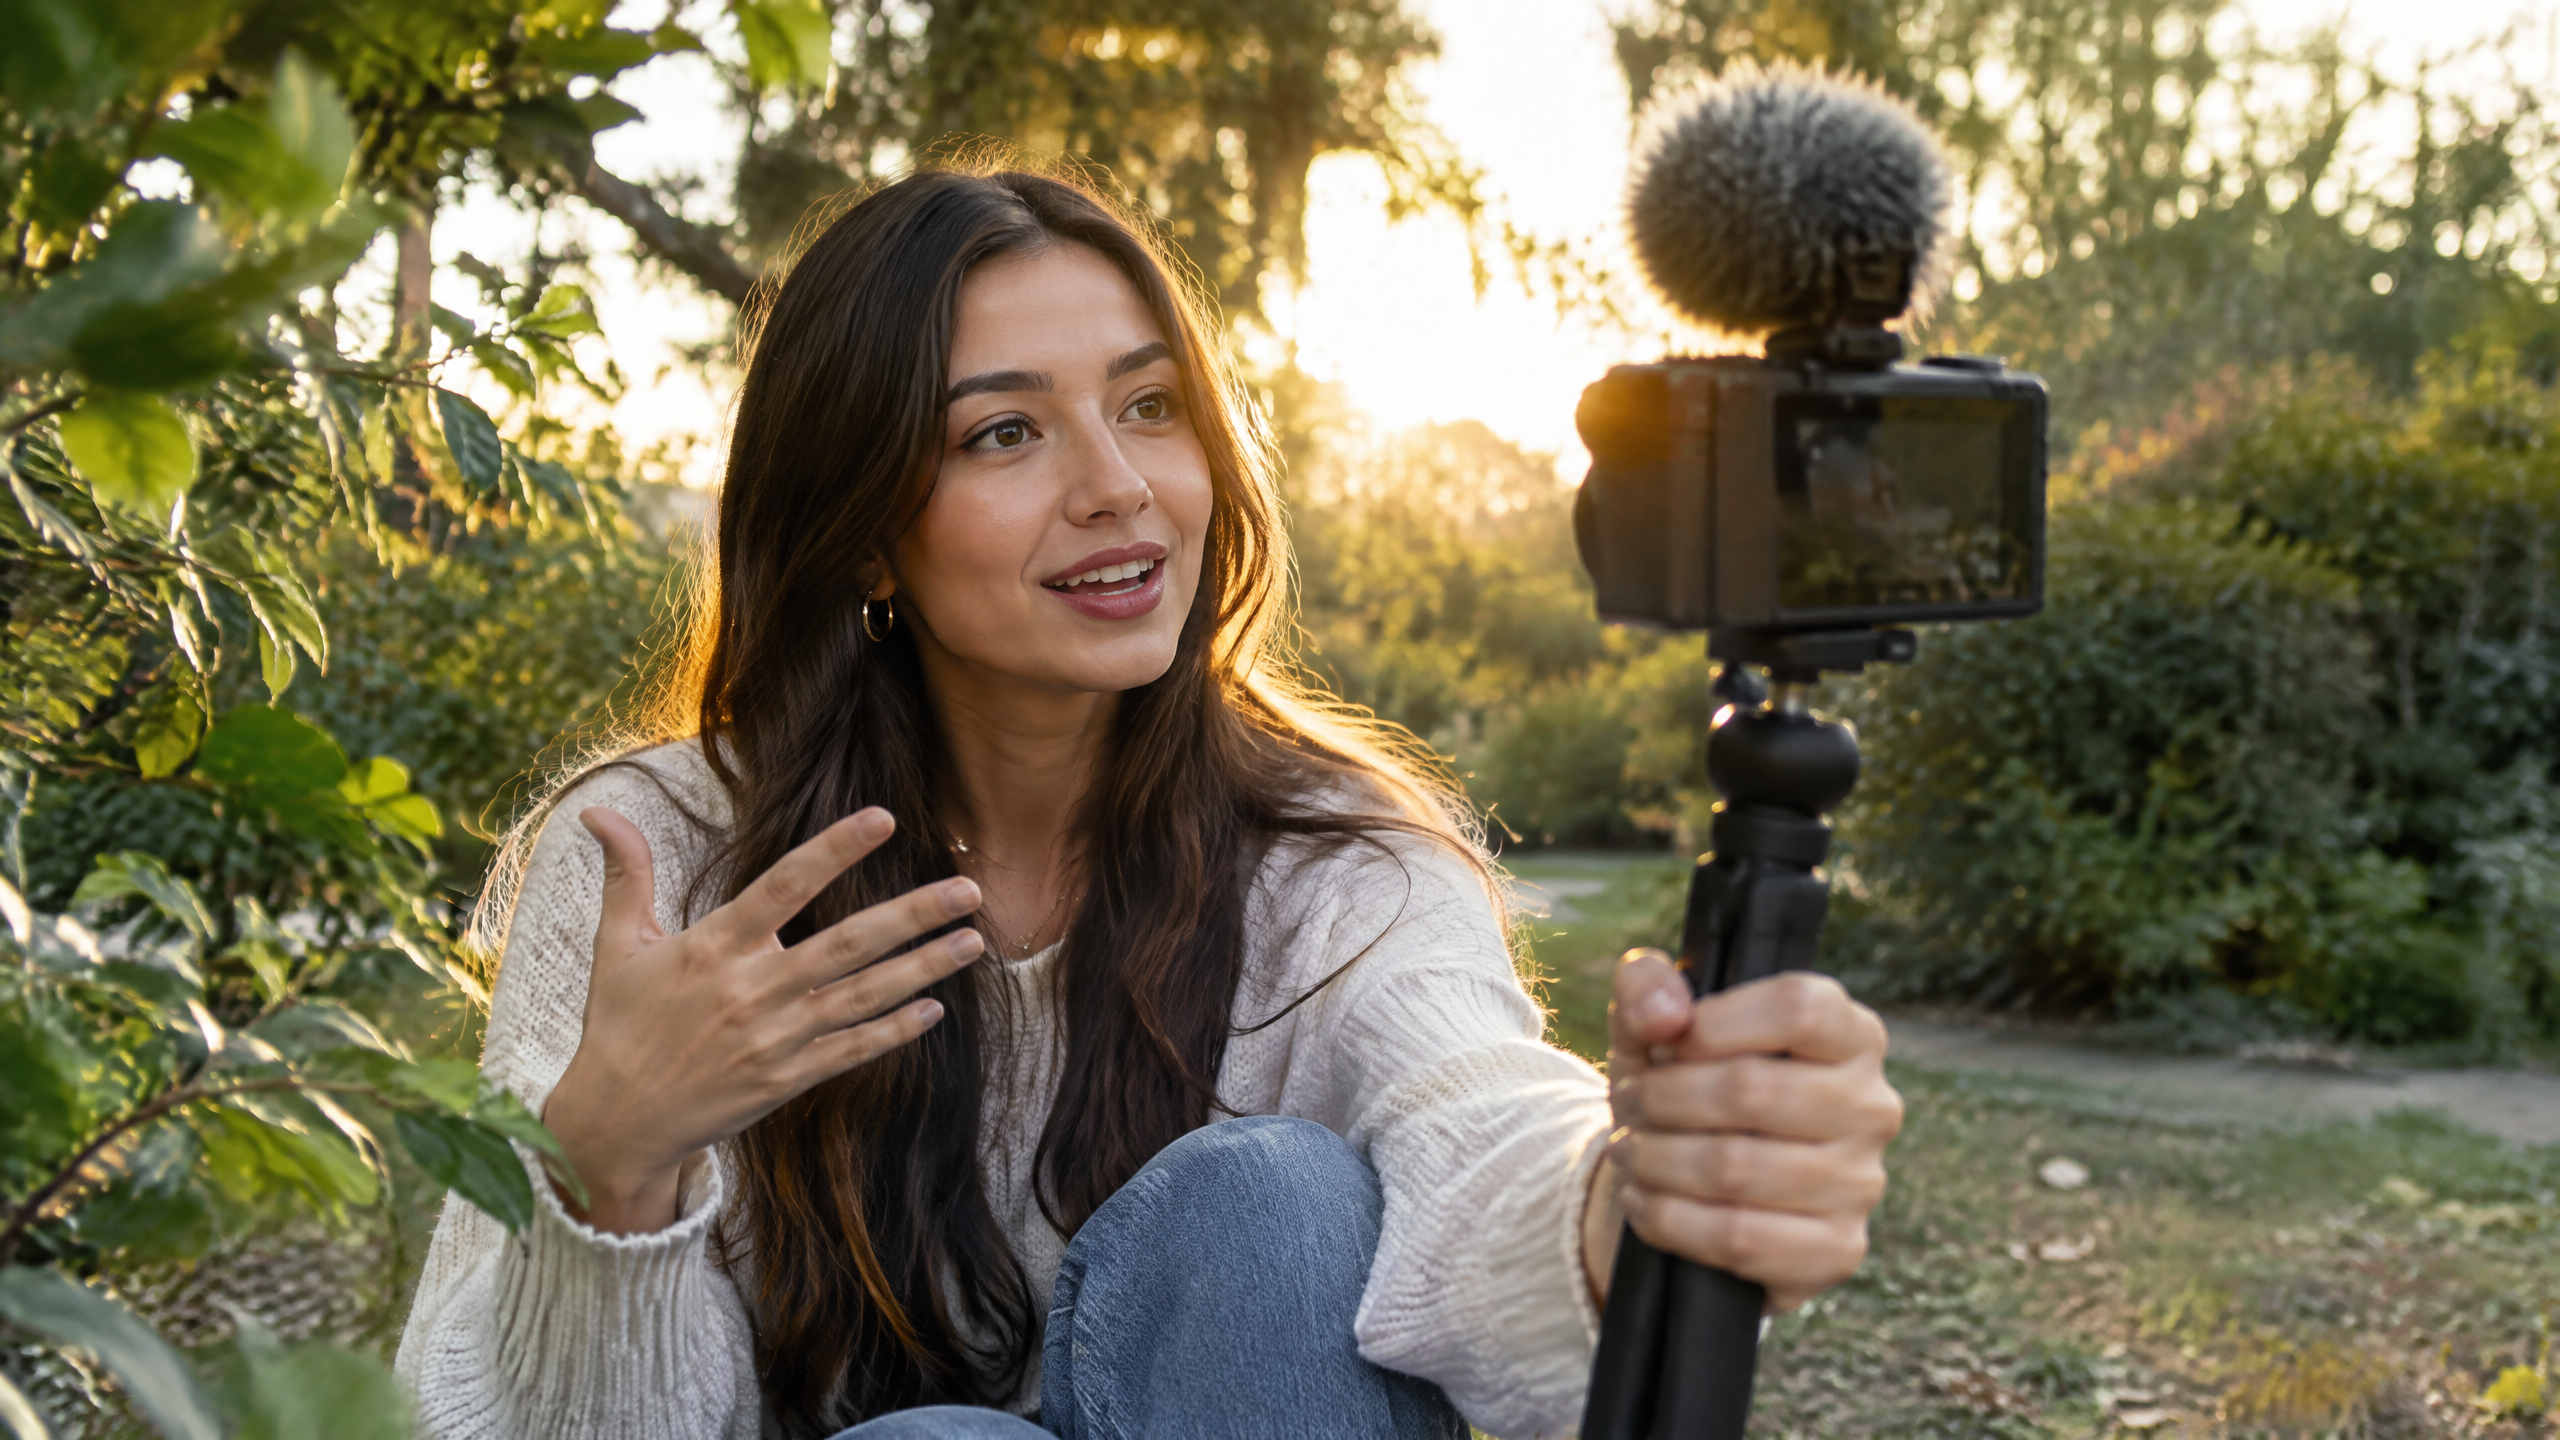
Please spend your first upgrade money on audio, not on a lens you saw in somebody’s ‘essential gear’ reel. A cheap wired lavalier mic or small on-camera mic close to your mouth will improve a vlog more than a moody expensive lens when your voice is echoing around the kitchen like you are narrating a true-crime trailer. The ZV-E10 has a 3.5 mm mic input and a headphone jack, so plug in, listen for ten seconds, and make sure your jacket zip is not conducting a full drum solo. If you are outside, use the little windscreen and stand with a wall, hedge, or your own body between the mic and the wind. Wind does not care about your personal brand.
Your budget shot list should be extremely boring on paper and very watchable on screen: one wide shot that says where you are, one medium shot of you doing the thing, and three details that make the thing feel real. A train door sliding shut. Your hand choosing fruit. A friend laughing off camera. Steam coming off dumplings. Your shoe missing a puddle by an embarrassing millimetre. Hold every shot for three quiet seconds before moving on. Then get one version moving slowly and one version completely still. Your future editing self will send you flowers. The mistake is filming every moment like it is evidence for a documentary about your own wrist.
For walk-and-talk videos, do not expect a tiny camera to erase every footstep just because the internet said ‘cinematic.’ The original ZV-E10 relies on lens stabilisation in Standard mode and electronic Active mode for movie stabilisation; it does not have body stabilisation magic. Start with a stable shot instead: lean against something, use a mini tripod as a handle, walk slowly, or cut between a moving wide shot and a steady talking shot. If you only have the kit lens, keep yourself a little wider in frame. It looks intentional, gives the autofocus space, and stops every bump from feeling like the camera is attached to a shopping trolley.
Your actual filming routine can fit on a sticky note. Charge one battery. Clear your card. Clean the lens. Put the camera in movie mode. Check frame rate, shutter, face/eye focus and audio. Record a ten-second test. Say the date and video idea out loud on the first clip, because later you will have twenty files named like alien passwords. Film your opening before you get tired. Then do the activity. Then film the ending while you still remember how it felt. If you need to shoot indoors at night, add a cheap lamp or move near practical light instead of pushing the ISO into an argument with reality.
And here is the rule that saves the most money: do not upgrade because a creator with a studio told you their new lens changed everything. Upgrade when a real limitation keeps appearing in your footage. Bad sound every week? Buy a better mic. Dead battery during every good moment? Buy another battery. You cannot frame yourself anywhere? Buy a small tripod. You keep filming in dark rooms? Then maybe think about a brighter lens or better light. Until then, the ZV-E10, a window, decent audio, and a repeatable shot list are enough. Your vlog does not need to look expensive. It needs to feel like someone had a reason to press play—and that someone behind the camera knew what they were doing, even if they learned it five minutes ago.