Arts
A Cup That Learns Your Hands
A useful teacup is a small lesson in material, heat, patience, and proportion. Begin with an honest form, use materials intended for functional ware, and let the slow stages do their work.
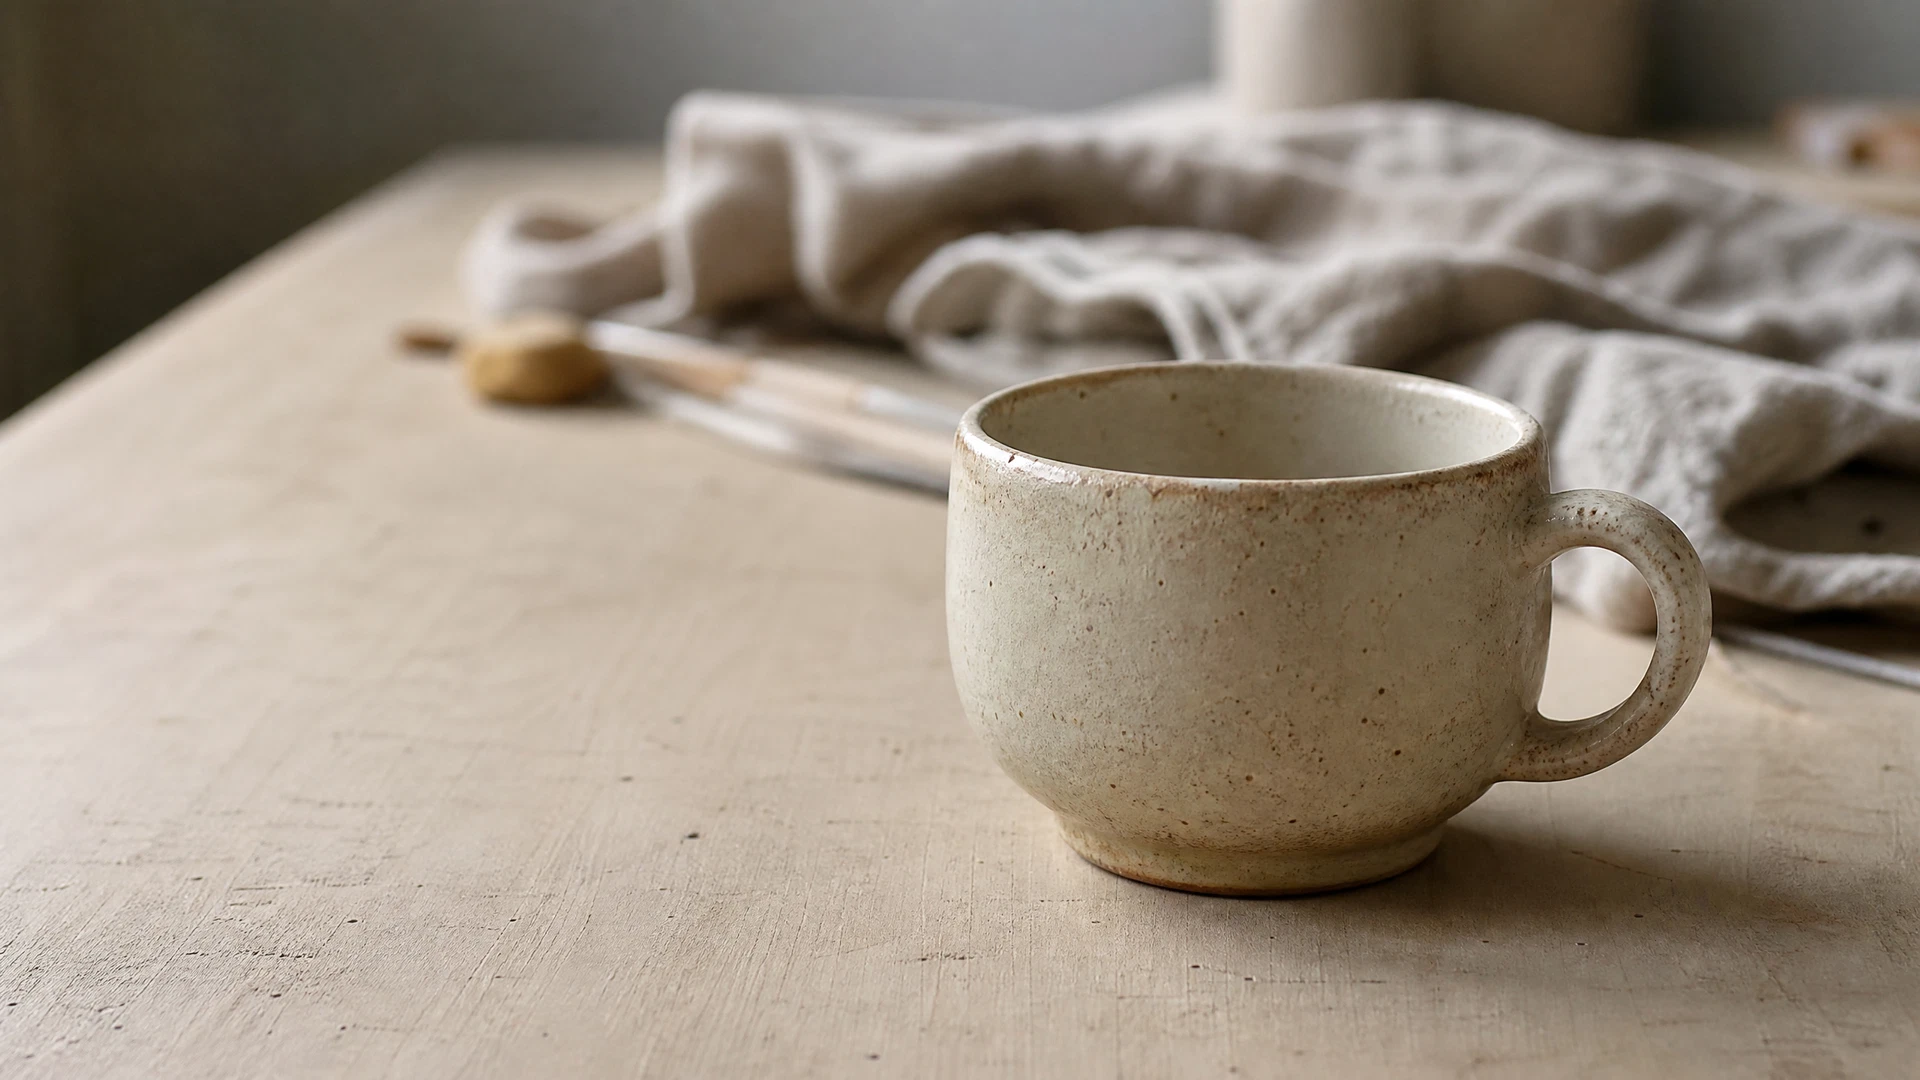
A handmade teacup begins long before it reaches a saucer. It starts as a decision to make something that will meet a hand, a mouth, hot liquid, a kitchen shelf, and the repeated minor ceremony of a drink. That makes it a more demanding object than it appears. A cup needs to sit without wobbling, feel considered at the rim, carry its handle comfortably, and tolerate ordinary use. None of those needs turns it into a test. They simply give the making a direction. The goal for a first cup is not to imitate factory perfection. It is to make a modest vessel whose choices are visible and whose limits are understood.
For a first attempt, a hand-building approach keeps the task legible. A studio can supply a prepared clay body suited to its firing programme, basic tools, a work board, and the supervision needed for later kiln stages. Ask what clay and glaze combinations the studio has approved for functional ware before making plans for colour. That single conversation prevents a great deal of wishful thinking. Clay changes as it dries and fires, while glazes can behave differently depending on the body underneath and the final temperature used by the studio. A cup intended for tea should be designed around a tested system, not an improvised finish or a borrowed recipe.
Start by making the clay even. Wedging is often introduced as a way to prepare the material before forming, but for a beginner its practical purpose is simpler: it helps the lump become workable and reduces surprises caused by uneven moisture or trapped air. Learn the studio’s preferred method rather than treating a technique video as a universal rule. Keep the clay covered whenever it is not in your hands. A small cup does not need a heroic amount of material, and working with too much can make the walls heavy. The clay should feel supple, not glossy with water and not cracked at the edges. If it is fighting you, pause rather than adding water until the problem disappears.
A pinch cup offers the clearest route to an intimate form. Press a thumb into the centre of a rounded lump, then turn the piece slowly as the other fingers support the outside. The important word is slowly. Instead of thinning one point until it sags, make several gentle passes around the wall, using the same hand position as a quiet measurement. Leave a thicker floor than seems necessary while the walls begin to open; the base carries the cup, and a hollowed-out floor can become a weak surprise much later. If a crack opens at the rim, compress it gently with a fingertip and a little of the same clay rather than ignoring it. Small repairs are easier while the material is still responsive.
A slab-built cup offers another useful rhythm. Roll an even slab with the studio’s guides if they are available, cut a simple rectangle for the wall and a circle or soft oval for the base, then let the parts firm slightly until they can hold a shape. The joining matters more than decorative detail. Score both surfaces, apply a small amount of slip made for the clay body, press them together, and reinforce the seam with a narrow coil if your instructor recommends it. The point of scoring and slipping is not to paint on glue; it is to create a join that can become one piece as it dries. Compress the seam without turning it into a thick ridge. A cup that looks light but has one heavy join often reveals that difference after firing.
Shape is also a question of use. A very wide, shallow cup lets tea cool quickly; a narrow one may keep warmth longer but can feel awkward to clean. A rim that flares slightly can meet the lip softly, while a rim made too thin can become vulnerable. There is no single ideal answer, only consequences. Put the unfinished cup on the table and look at it from a seated height. Pick it up with dry hands. Imagine the level of liquid a little below the rim. The object will tell you which decision needs another pass. A useful habit is to stop forming before the clay is exhausted. Overworking can turn a clear shape into a tired one.
The handle deserves its own small study. Pulling or rolling a handle from the same clay is less about producing a decorative ear than making a bridge for fingers. Hold your hand as you would around a favourite mug. That rough spacing is more useful than a ruler. Let the handle stiffen to a similar softness as the cup before joining it. Attach it to a scored-and-slipped surface, support the cup from inside as you press, and avoid a handle so thin that it feels brave only before it has dried. A handle can be simple: a rounded strap, a soft loop, or a shallow thumb rest. What matters is that the upper and lower joins feel deliberate and that the cup can be lifted without asking one small seam to do all the work.
Then comes the stage that teaches restraint. Clay shrinks as moisture leaves it, and a cup that dries faster at its rim than at its base can develop cracks or warping. Place the piece on a suitable absorbent surface according to studio practice, cover it loosely, and let it move toward leather hard at an unhurried pace. Leather hard is the useful middle state: firm enough to trim a rough foot, soften an edge, refine a handle join, or add a small maker’s mark, but not yet brittle. Avoid chasing every fingerprint. Some traces of the hand are part of why the cup exists. Remove only the marks that distract from the form or interfere with comfort.
When the cup is fully dry, its next steps belong to the studio’s firing process. This is a good place to be exact about a boundary: a beginner should not improvise a kiln programme, install a kiln, or treat an ordinary oven as a substitute for ceramic firing. Kilns combine serious heat, electrical or fuel systems, ventilation requirements, and material-specific instructions. Ask a trained technician or instructor to inspect the dry piece and include it in the studio’s bisque firing. The first firing makes a porous but more durable stage often called bisque ware. It is not the final promise that a cup can safely hold tea, and it is not a reason to shortcut the rest of the process.
Glazing is where a cup begins to negotiate with water. Clean the bisque piece as your studio directs so dust does not weaken the surface. Choose a commercial or studio-tested glaze identified for the intended functional use and compatible with the clay body and firing range. A smooth, stable liner glaze on the inside is often the quietest choice for a first teacup; it lets the surface be easy to assess and keeps the outside free for a more expressive treatment. Apply only as your studio teaches, and keep the foot clean so it does not fuse to the kiln shelf. Dry glaze materials create fine dust, so mixing, sanding, or spraying are not casual table-top tasks. Use the studio’s controls, keep food away from the work area, and follow the product information and staff instruction.
A glaze surface can be beautiful and still be unsuitable for a cup. Treat visible crazing, sharp chips, rough pinholes, or a glaze of uncertain provenance as information rather than a challenge to rationalise away. Decorative finishes, untested recipes, and techniques intended for sculptural work should not be assumed to make drinkware. If the inside of a finished cup has a questionable surface, keep it as an object for dry use or ask an experienced studio professional how to assess it. The safest kind of confidence is specific: knowing which clay, which glaze, and which firing process produced the piece, rather than relying on the fact that it survived a kiln.
The final firing again belongs with the trained people and equipment of a ceramic studio. Once the cup has cooled completely and been checked, fill it with water at the bench and set it on a dry sheet of paper. Look for seepage, examine the foot, and feel the rim and handle. This is not laboratory certification; it is a practical first inspection. If the cup leaks, rocks, or has an interior surface you do not trust, do not press it into tea service. A first cup can still be a successful study of form. It may hold teaspoons, become a small vase for one cutting, or sit on a shelf as the beginning of a more careful second attempt.
That second attempt is usually where the cup becomes personal. You notice that your first handle sat a little high, that you prefer a rounder lip, or that the clay revealed more character when you stopped trying to make it flawless. Functional ceramics repay this kind of repetition. The cup does not need to announce its handmade origin with drama. It can do so through a gentle asymmetry, a measured foot, an inside surface that receives tea cleanly, and a handle that remembers a hand. Making one is a sequence of material decisions, but using one is the reason those decisions matter.